Showing posts with label Freaky and Fun Friday. Show all posts

Friday, September 30, 2011

Freaky & Fun Friday - Halloween How To's


As I am currently running an extremely tight schedule, part of the problem being my October 8th deadline for 3 large paintings I am committed to doing for a local Art Galleries "Far Out Show."  I only found out about this less then a week ago or else I certainly would have got to work sooner on them.  Not to mention I have 3 custom orders that I am working on as well.  So I did not find the time to put together a Halloween tutorial for this week and I am cheating again like I did last week.  I am sorry to do it 2 weeks in a row and hopefully this will be the last time but I am not promising anything either. lol

I still took the time to round up some pretty cool Halloween How To's around the net that are sure to be fun for kids of all ages!  I hope you enjoy these and if you do put some together share some photos with us, I would certainly love to see them!

GIGANTIC spider
Balloon Spider Decoration
Click HERE to find out how it's done!

Newspaper Leaves
Click HERE to find out how it's done!

Scary Portraits
Picture 63
Click HERE to find out how it's done!

Celestial Pumpkins
Click HERE to find out how it's done!

This final How To is a video and I think it is a FANTASTIC idea!  I am definitely making these for my yard this Halloween!


I hope you found some fun ideas to keep you busy this coming week getting ready for Halloween!  My Halloween decorations have come to a stand still the last couple of weeks until I finish up with the stuff that is actually going to be making me money.  It just means that I will be one busy bee right before Halloween to get ready, its my absolute favorite holiday and I never miss an opportunity to turn my house and yard into my personal work of art!
Have fun!!!

Saturday, September 24, 2011

Freaky & Fun Friday - How To Make A Spider and Web Part 2

Part 2
How To Make A Spiders Web

This weeks tutorial is a little different to what you are use to getting from me but only because I feel like I have entered into the twilight zone this week!  So after a nightmare of a week, a failed glow in the dark silly string spider web effort yesterday and a 20 hour power outage, I have now searched the net to find the best spider web "how to's" that I could find.  Unfortunately I am trapped at my home in the country with no vehicle and lacking the supplies to put any of these together to do my own tutorial.  I certainly didn't want your spiders from last week to be homeless so I figured I could share with you this way.  Here are 3 of my favorite hand crafted spider webs that you can easily make at your house this Halloween.  


This one is by far my favorite but not sure if I will have the time to put this together this year.


This next one is made from old panty hose which is probably the one I will be making for my spiders to live in this year! Click HERE for full instruction on how to make this one.
Reusable Spider Webbing

This one looks fairly simple and all you need is some white string or rope, but you will need an appropriate area to act as your frame and that I don't have.  Click HERE for full instructions to make this one.
Halloween spiderweb

When I do get the supplies I need to craft my web I will certainly take lots of photos to share here with everyone and possibly a quick "How To" depending on the method I use to do it.  I would love to see or hear about your ideas or finished webs that you construct this year, feel free to post them in the comments on this post for everyone, I love photos!!!!

Have FUN!!!

Friday, September 16, 2011

Freaky & Fun Friday - How To Make Spiders and Web Part 1

How To Make Creepy Spiders


What you will need:
1.5" Styrofoam balls
8 Twistee Ties per each ball
Black paint
Needle nose pliers


This week is part 1 the spiders, and next week we will do part 2, the web.  These spiders are fairly easy to make and extra creepy looking!  

To start you will need to remove the paper or plastic from all of your Twistee Ties.  I am not sure I want to direct you in the same method I used to do it as I ended up burning my thumb horribly, however if you are careful and not rushed you should be safe.  The only reason I burnt myself is because I was so rushed while I did it and I know that now.  If your ties are covered in paper then the paper can easily be ripped off.  If they are covered in plastic then it doesn't come off so easily.  What I did was use a lighter outside and burnt the plastic off of each one.  This method was working great but was time consuming and so I decided to start doing 8 ties at a time and this is when I accidently dripped burning melted plastic on my thumb and caused myself excruciating pain!!!  If you decide to use the lighter method please make sure you do it outside so you don't burn your house down and only do one tie at a time.  Please learn from my mistake because this happened yesterday and my thumb is still killing me, I don't want anyone else to follow suit.  

Once your ties are all down to bare metal they need to be formed using needle nose pliers.  At a little less then half way fold it over and pinch the crease as tight as possible with the pliers.  Then one side should be longer then the other side, on the longer side fold then end over about a quarter of an inch and pinch the crease as tight as possible with the pliers. See image below for an example

You need 8 wires per spider so you can either do all the wires first or do 1 spider at a time, your choice.  

Take one foam ball and 8 wires that have been folded and ready to go.  By folding the one end over a quarter of an inch it makes the wire sturdier and helps to hold it in the styrofoam ball better.  Stick 4 wires in each side of the ball, sticking the end that is folded over in first.  Your spider should now look like this

It is better to add the wires before you paint the spider black for 2 reasons.  1 the legs give you something to hold onto while you paint the styrofoam ball black and 2 as long as you have each wire exactly how you want it when you add the paint, the paint will help to seal the wire in the ball making it unnecessary to use glue.  If you try to adjust the legs after you paint this will break your seal.  


Once your spider has been painted it should look like the pic above.  That is it for one spider, how many you make is up to you, I made 6.  Next week we will make the web that we are going to add these spiders too, and no it does not involve buying a bag of Halloween spider webs! lol 


Have FUN!

Sunday, September 11, 2011

Freaky & Fun Friday

How to Make A Monster Wreath

Things you will need:

Styrofoam wreath
Fun Fur
Ping Pong Balls or Small Foam Balls or Rubber Toy Eye Balls
Hot Glue Gun
Lots of Glue Sticks (for glue gun)
permanent marker
pins


Depending on the size of wreath you will want to make will determine how much of each of the items above that you will require.  The wreath I made for this tutorial is just a small one, so the measurements I will give you are in accordance to an  8 IN diameter.  If you decide to make a bigger wreath then just be sure to adjust your measurements for all of your supplies accordingly.  Personally I would have made a bigger one had I more fun fur, however working on lack of time I had to work with what I had.  

Your going to start by measuring out a piece of Fun Fur, for a wreath with an 8 IN diameter I used a piece of Fun Fur that was 12 IN by 15 IN.  (I would have liked to use a piece 15 by 15 but like I said I was working with what I had, so I made it work lol)
Once you have the right size piece in front of you, you will need to mark it with your permanent marker on the back.  Center your foam wreath in the middle of your Fun Fur and trace around the inside and around the outside of the wreath.  Then draw a cross in the center of the wreath and finally an outer circle around the entire wreath that is about 3 inches (more if your wreath is much bigger) wider then the outside circle of the wreath.  See the pic below to reference these markings...
Once you are confident that you have marked the Fun Fur properly you can start cutting it out.  My rule of thumb is "measure twice and cut once!"  Start by cutting the outer most circle out.
Now you need to create flaps in the center of the wreath and you do this by cutting along the lines of the cross in the middle.
Now using your permanent marker you can mark out all the eyeballs.  How many is completely up to you or up to how many will fit on your wreath.  I was able to fit 8 nicely.  When you mark out the holes for the eyeballs you want to be very careful about how long the lines are that you are going to cut.  If your holes are too big then your eyeballs will just fall out.  You want the eyeballs to just go through about halfway and stop.  If you are using Ping Pong balls for eyes then you will cut about an inch and a half.  On the other hand I used smaller rubber bouncy balls that look like eyeballs and glow in the dark so I cut mine just under an inch.  

You want to be just a tad smaller then the diameter of your eyeball.  Once you know the size of the hole you will need you can start drawing your lines in the inner circle where you want your eyeballs to go.  
Once they are all marked out you can cut along the lines creating your eyeball holes.  Once you cut your first hole you should try to push your eyeball through it, if it pushes all the way through then the hole is too big.  You want it to just go in about half way and stop.
Once you have them all cut out go ahead and push all your eyeballs into the holes.  I find that pushing them in from the front of the Fun Fur works best so that the edge of the Fun Fur gets pushed into the inside of the wreath instead of the outside.  Once they are all in place you can go ahead and glue them in using your hot glue gun.  
I mentioned in the list of supplies that you will need LOTS of hot glue sticks and I wasn't kidding! lol  Don't be afraid to pile it on here, you will need lots to hold them in place.  You wouldn't want them popping out of your poor monster do ya?
Wait for the glue to fully dry then place your foam wreath n top of the eyeballs.
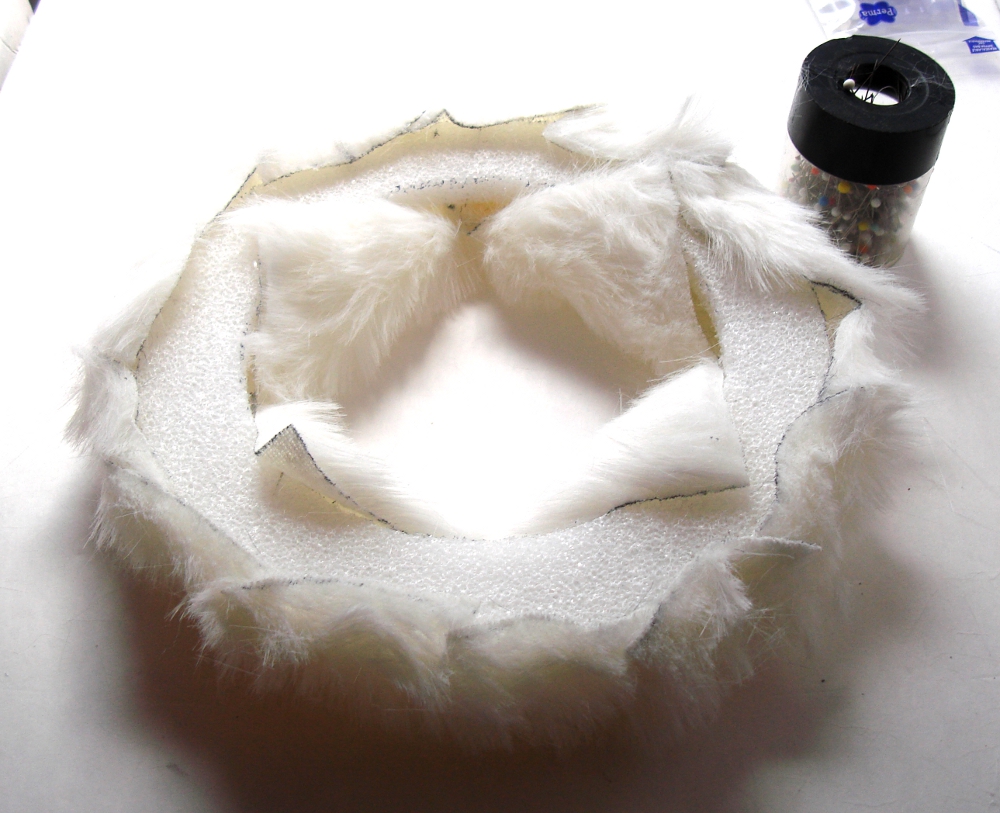
Now its time to use those pins.  Start with the flaps in the center and fold them up over the edge of the wreath and pin them in place.
In order for the outside to fold up easily and smoothly you will need to put slices into it going around it in a circle.  Your slices only have to go in about an inch, you don't want to go any deeper then that. The smaller the wreath the more slices you will need.  I went about every 3 or 4 IN, the bigger your wreath you can spread them further apart.
You are now ready to pin the outside of the wreath.  Fold the edge up around the circle and pin into place.
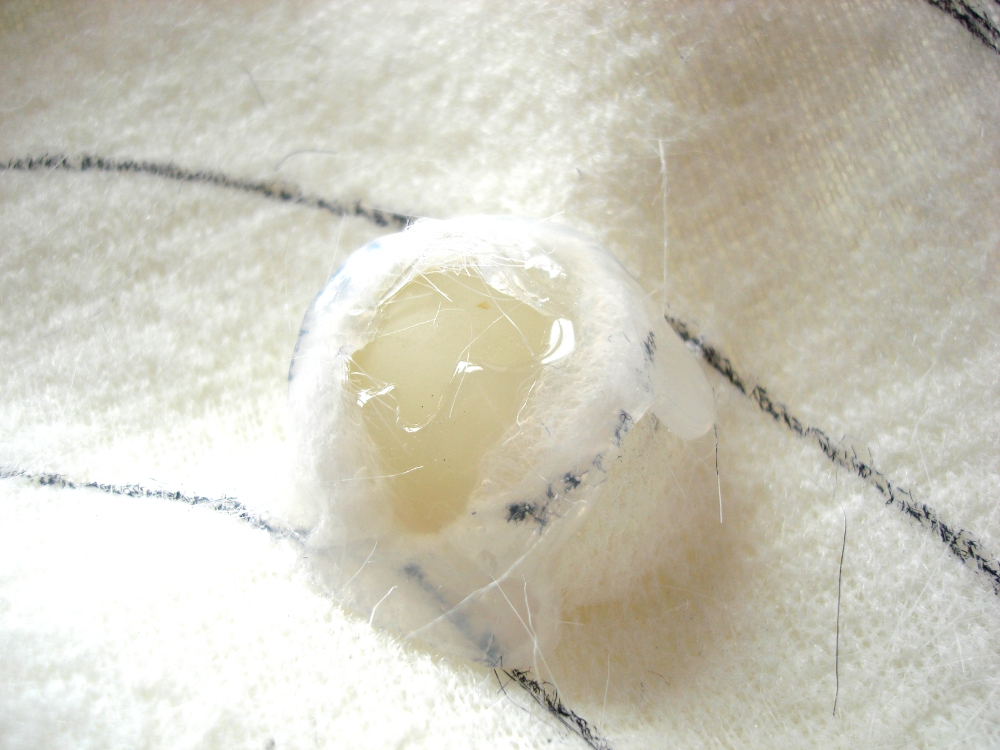
If you have everything in place properly and your wreath is covered fully in the front and all around the outside.  If you see a little bit of foam in the back that is ok.  You are ready to start gluing.  Again don't be afraid to use too much glue. Start with the inside flaps by removing a pin then putting hot glue on the Fun Fur and on the foam and pressing together.  Then work your way around the outside circle of the wreath removing each pin as you go.  Once you finish gluing and turn it over you should be left with something that looks similar to this...
If you used Ping Pong balls or foam balls you will still need to draw your eyes on using your permanent marker.  Now your done!

Since my eyeballs glow in the dark I was able to capture it a little bit on camera for you all...


I hope you all have as much fun with this as I did!

Friday, September 2, 2011

Freaky & Fun Friday - How To Make A Bat Mobile

Starting today there are 9 Fridays until Halloween and you may have already noticed that the title of today's post has changed from Fabulous to Freaky.  The reason for this is because for today and the next 8 Fridays I have decided to do a series of Freaky and Fun Tutorials for Halloween.  The projects that I have chosen are fun, easy and perfect for Halloween lovers of all ages.  So if you have little ones at home you will be able to get them involved in the fun too!  By the time Halloween rolls around we should all be ready for a ghoulish great time!!! 

If you are already picturing "the" Bat Mobile then get it out of your head because you won't be driving this bat mobile anywhere! lol
What you will need: 
- 1 Bat Template
- Black and/or Brown Cardstock
- Invisible Thread or Fishing Line
- 2 Sticks (from a tree or your yard)
- Scissors
- Pencil
- String or Twine


Bat Template

You can draw all your bats free hand but it is easiest to start with a template and then just trace them all on to the card stock.  You can click on the bat template above and then print it out and use that or you can certainly sketch your own, that is your choice.

Once you have traced or drawn all your bats on the card stock you can then cut them all out.  I used 8 bats for my mobile, 4 black and 4 dark brown.


Now that you have cut all your bats out you need to punch eye holes into them directly under the ears.  These eye holes are where you are going to tie them to the invisible thread.  Once your mobile is complete you won't even be able to see the invisible thread.


Once they all have eye holes you need to fold all the bats in half as in the picture above.  


Now use your invisible thread and tie different length pieces to the bats by looping the thread through the eye holes.   It is important to make sure that they are all completely different lengths.


Using a piece of string or I used a piece of black hemp to tie the 2 sticks that I found in my yard together in the middle.


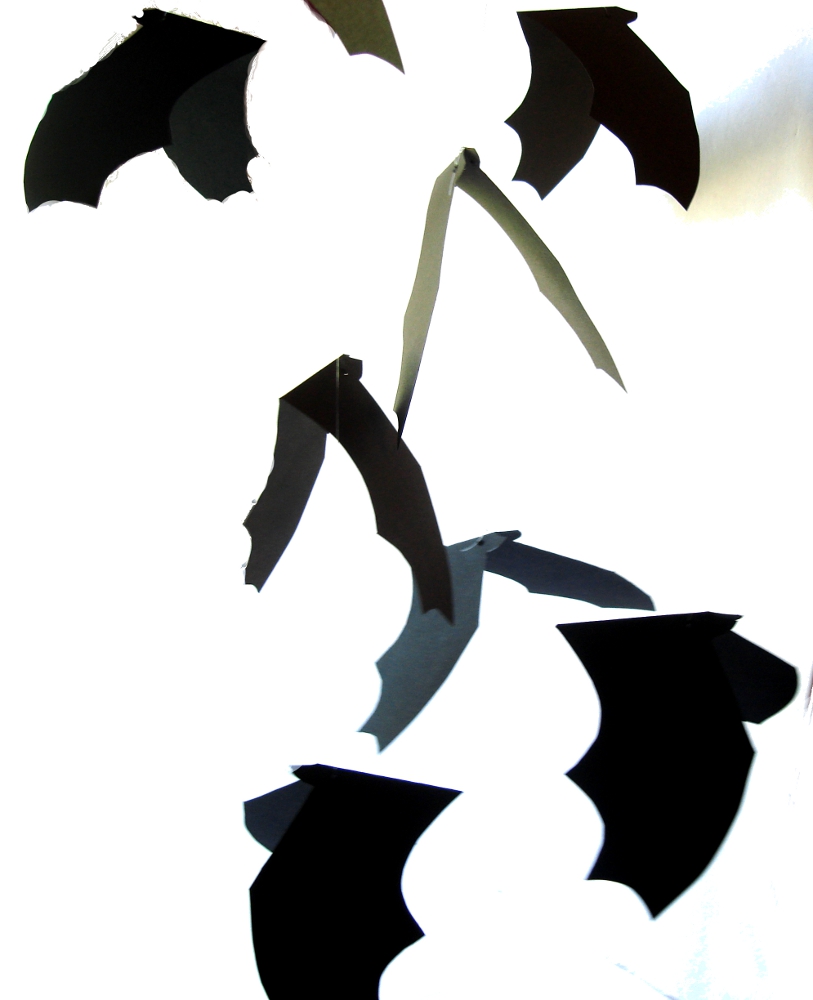
Once your sticks are tied together securely and don't move, you are ready to tie all your bats to the sticks.  Using 8 bats means you can tie 2 bats to each of the 4 sides.  That is it, you should now have a spooky bat mobile that you can hang from a tree outside on Halloween or somewhere in your house or maybe you are planning a haunted house for Halloween.  Where ever you hang them, they are sure to spook all that come near! muawahahahahaha


I couldn't get a good picture of my finished mobile with the whole thing in one shot unfortunately but you should be able to get a good idea how it looks from the pics above.

Have Fun!!!!  Watch for the next Freaky and Fun project next Friday!